
This document explains how to run multi-device NFC tests.
Meet prerequisites
Before you run multi-device NFC tests, do the following:
- Prepare a device with your Android 15 implementation.
- Follow CTS-V requirements.
- Follow CTS-V setup.
Prepare a DUT and a PN532 NFC reader for the test
After you finish the previous steps, follow these steps to run prepare a DUT and a PN532 NFC reader for the test:
- Connect the DUT to a host machine over USB.
- Grant permissions for the host to access the DUT over ADB.
Install the CTS Verifier app (
CtsVerifier.apk) on the DUT:extract root/out/host/linux-x86/cts-verifier/android-cts-verifier.zip cd android-cts-verifier adb install -r -g CtsVerifier.apkInstall the NFC test required APKs:
cd MultiDevice

adb install -r -g NfcEmulatorTestApp.apk
Set up NFC for the DUT
Follow these steps to run set up NFC for the DUT:
- On the DUT, go to the Settings menu.
- Look for the NFC or Connected Devices section.
- Verify that the NFC toggle switch is turned on.
Position an NFC chip on the phone's NFC reader:
- Acquire a PN532 NFC chip. We recommend the All-In-One PN532, non-BLE option.
- Attach the PN532 NFC chip to the Linux host using a USB cable.
- Place the PN532 NFC chip over the phone's NFC reader as shown in the following image:

Figure 1. NFC chip placement.
Set up the test environment
Follow these steps to run set up the test environment:
Run these commands to set up the test environment:
cd MultiDevice

source build/envsetup.sh
This command checks the Python and sets up the
PYTHONPATHenvironment variable. If no errors are printed to the terminal, the environment is ready to run the multi-device tests.If you see the error message
libtinfo.so.6: no version information
available (required by /bin/sh)
at runtime, run the following command to rename thelibtinfo.so.6file:mv $ENV_DIRECTORY/lib/libtinfo.so.6 $ENV_DIRECTORY/lib/libtinfo.so.6.bakSet up the test bed by setting the device serial IDs of the DUT and PN532 NFC reader in
MultiDevice/config.yml:TestBeds: - Name: CtsNfcHceMultiDeviceTestCases-py-ctsv Controllers: AndroidDevice: - serial: "<device-id>" TestParams: pn532_serial_path: "<pn532-serial-path>"
Run the NFC tests
To run the NFC tests:
Open the CTS-V app and tap NFC Tests:
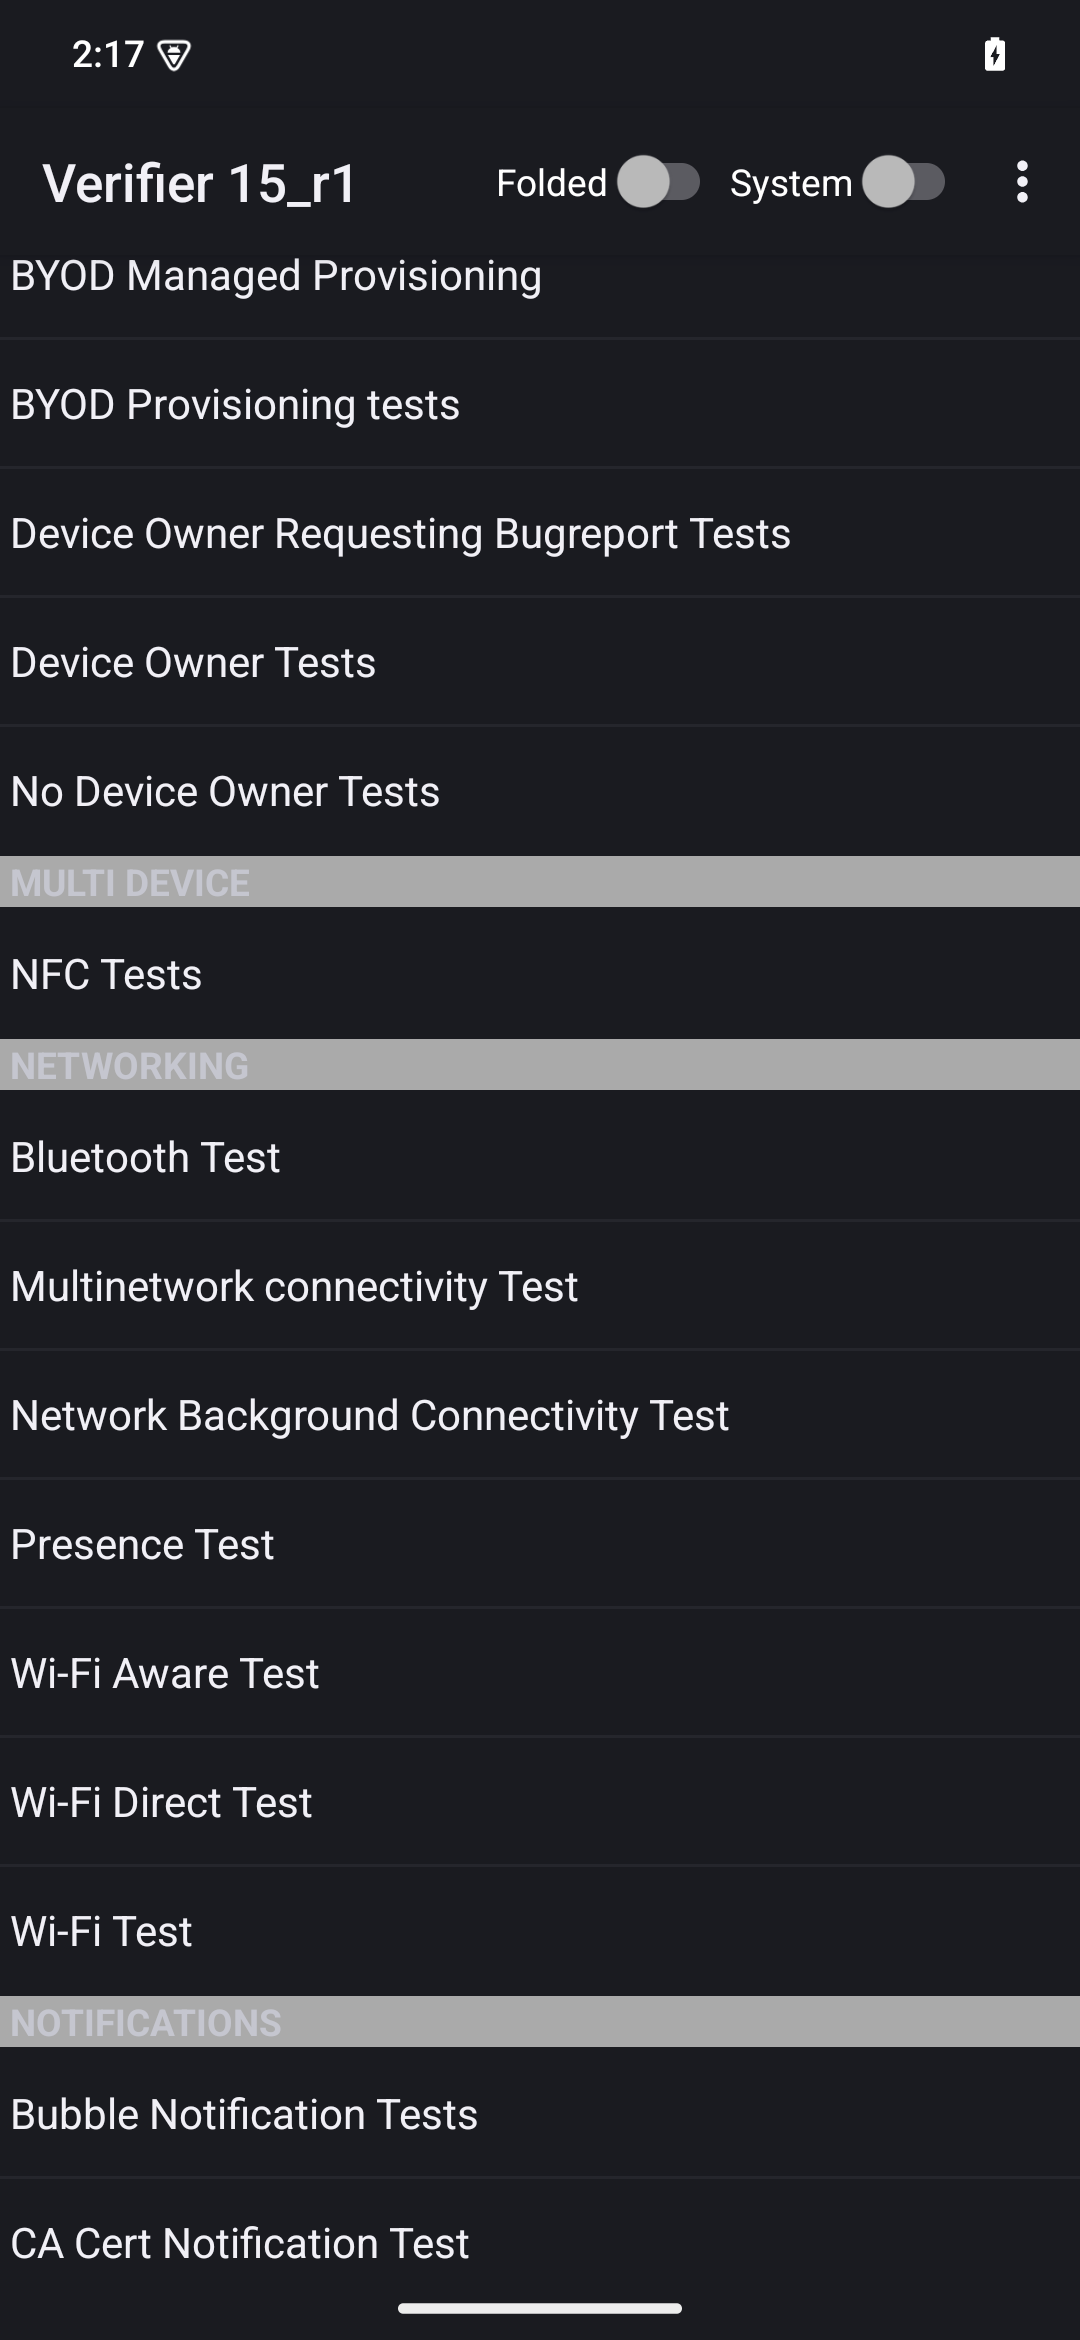
Figure 2. The CTS-V app.
The info window with list of test cases appears:
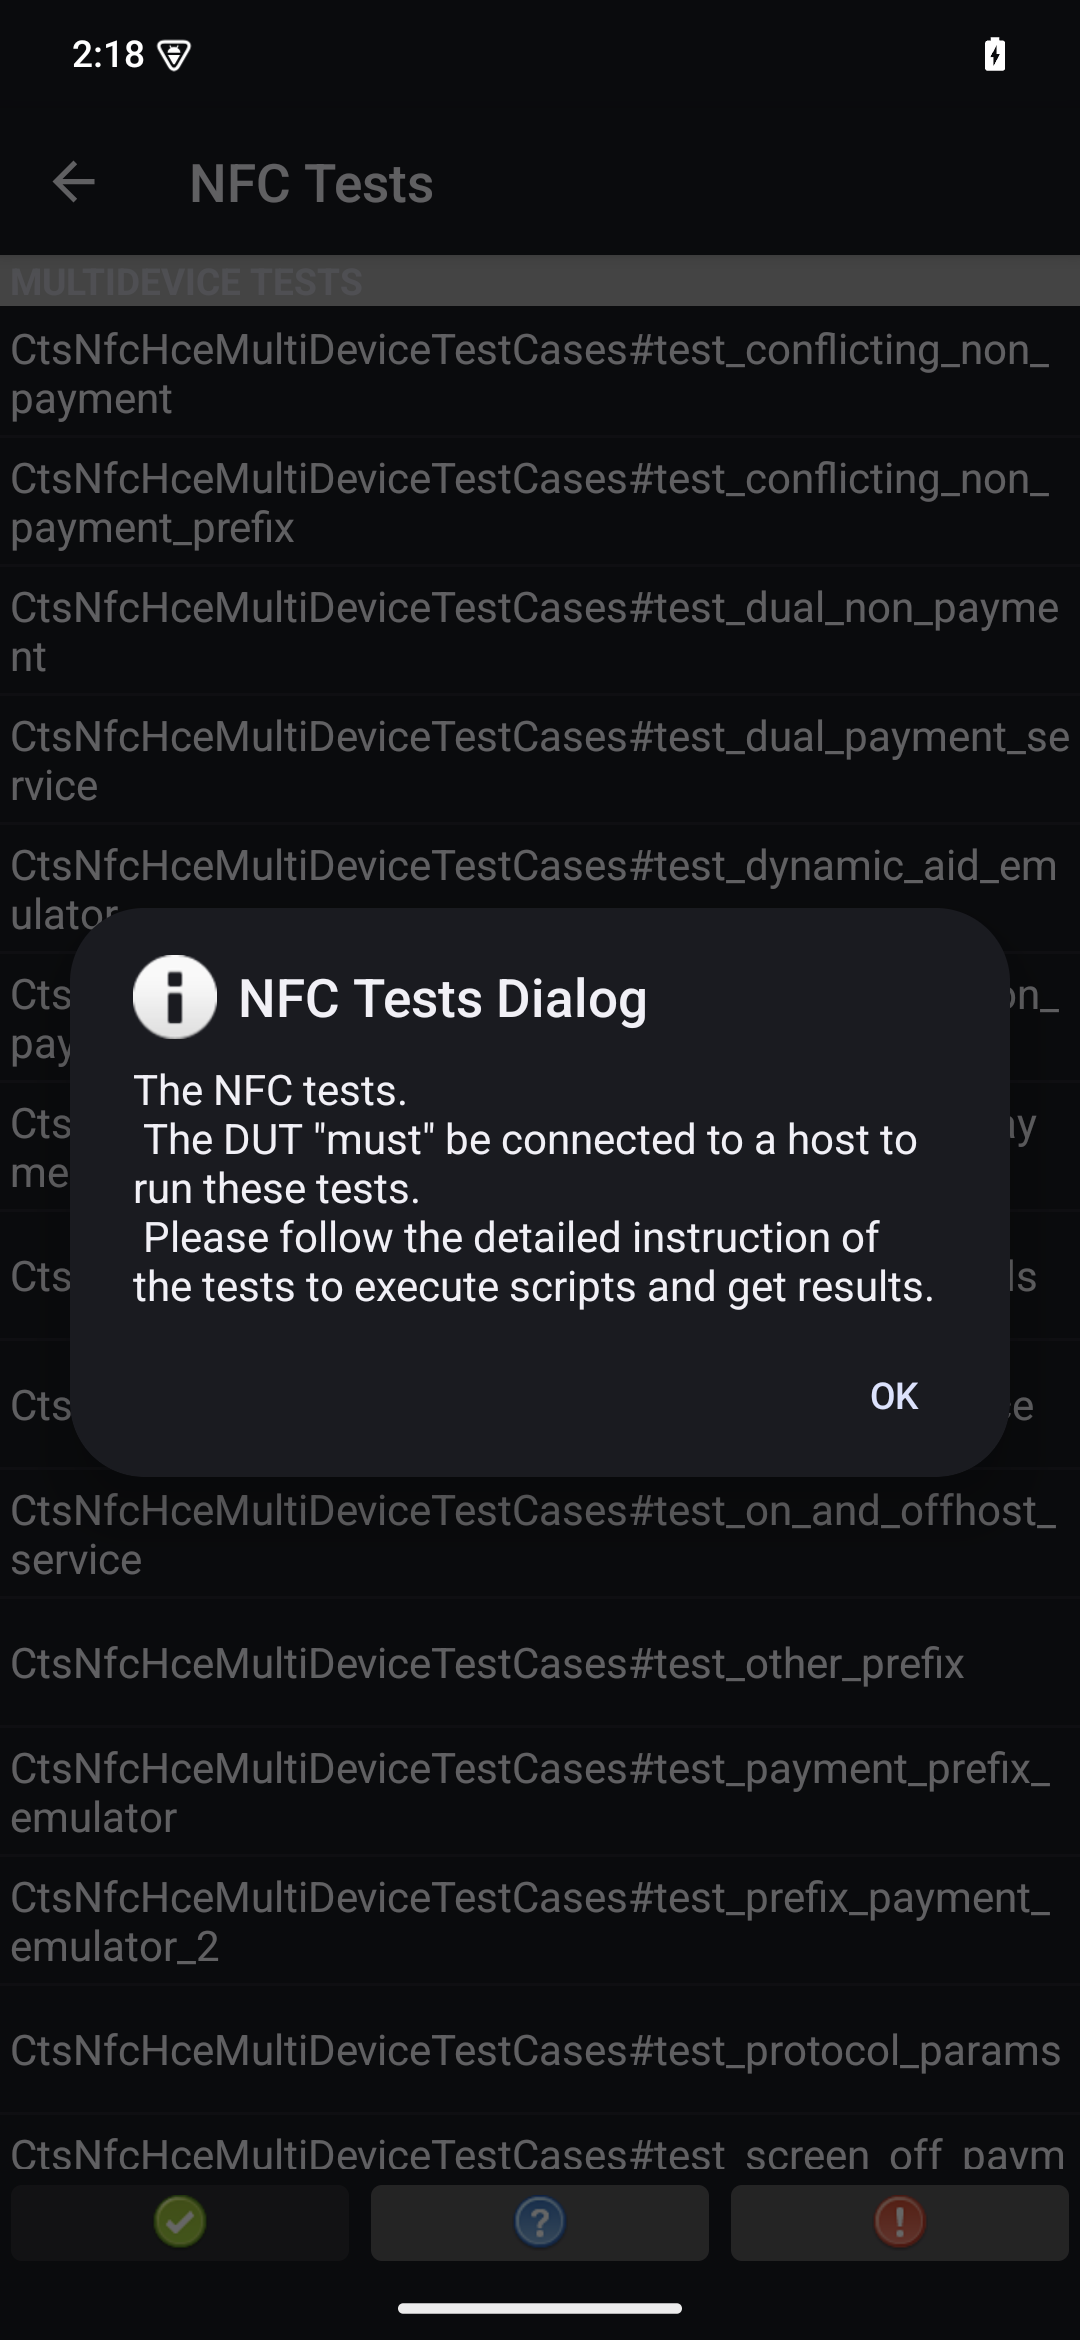
Figure 3. CTS-V app test cases.
Run the tests on your host:
MultiDevice$ python3 tools/run_all_tests.pyWhen the tests are completed, the test results are updated in the CTS-V app. Successful tests are green:
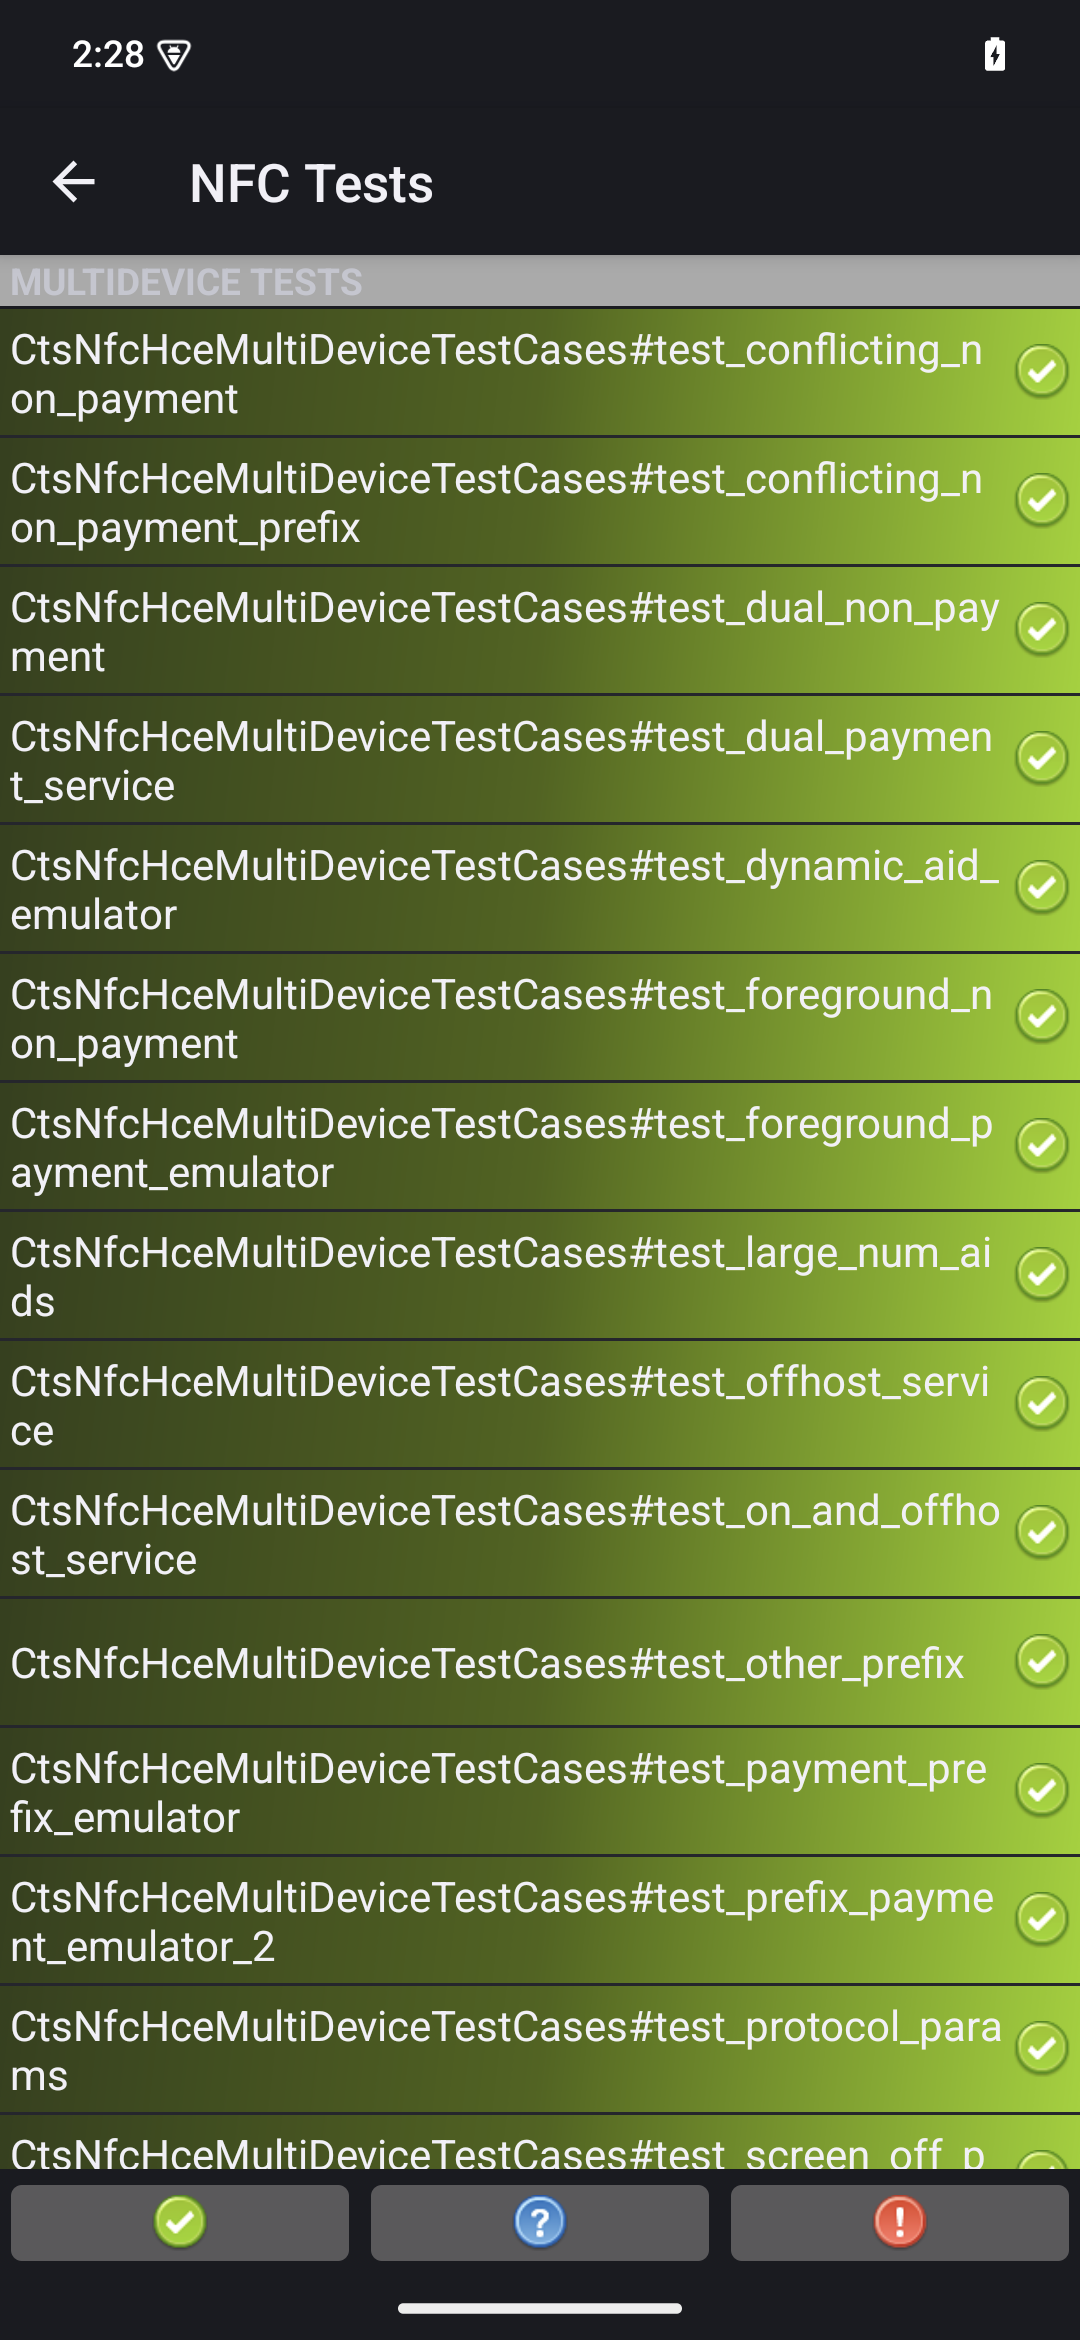
Figure 4. CTS-V test results.
If you see any failures marked in red, use the following command to rerun the failed tests:
python3 tools/run_all_tests.py --test_cases "`TestCaseA`" "`TestCaseB`" --test_files "`TestFileA`"Where:
TestCaseAandTestCaseBare the names of the test cases as displayed in CTS-V.TestFileAis the test file containing the test cases.
For example:
python3 tools/run_all_tests.py --test_cases "test_conflicting_non_payment" "test_conflicting_non_payment_prefix" --test_files "CtsNfcHceMultiDeviceTestCases-py-ctsv"